Showing posts with label front lounge. Show all posts

Thursday, 26 July 2012

Front Lounge Part 19


OOOOOOOOOOOOOoooooooo... White room is WHITE! 

So Sunhine has been painting the skirting boards and picture rails in "antique white" (I've stayed out of there as the gloss paint is pretty fume-y...) and now that everything is dry, we've re-installed all the electrics and we have a had a good cleaning session in there including cleaning out the windows ... Oh my! How art-gallery like does it all look! It is so uplifting in there and the room catches the evening light beautifully. So looking forward to setting up our office/workshop in there ... bring it on I say!

As it happens, apart from a small snagging list, all the four main rooms are DONE! Hallway and the kitchen etc left to do ... but that's quite separate. We can now move on to sourcing furniture, getting shelves made, making curtains and general beautifying... oh so exciting!

Phew, I need a holiday ....

Tuesday, 24 July 2012

Front Lounge Part 18


Man, what an annoying last couple of days ... So all that varnishing Sunshine did on the floor? It pulled out the old dark stain even more... And considering how white the rest of the room is, it looked dreadful! We sat around on the floor dejectedly wondering if we could put up with it and maybe think about re-painting in a few years time ... and I thought, actually, no. It would just annoy us every day. It was better to just bite the bullet and buy white floor paint. The sort that is paint and varnish in one. Ok so we are not going to get the whitewashed look we wanted, but its much better than having a floor that looks mouldy green and yellow ...*

So we took the weekend off DIY (we so needed it) and wondered around the Bristol Harbour Festival instead; and then yesterday went and got ourselves white floor paint - and I am so glad that we did! We sanded the floor lightly first (interesting how much leg hair Sunshine sheds!), vacuumed, and then painted a coat on. You're meant to do two coats but one was enough as we already had several coats of paint and varnish underneath.

Today Sunshine has been fitting skirting boards while I have been filling around plug sockets and bits of wall that we had hoped would be behind the skirting board but were peeking out. So a bit more wall paint touching up to do as well when all the plaster dries.

*In hindsight, we should have used some kind of latex paint initially rather than emulsion paint - it would have probably stopped the stain coming through ... but hey ho, its a learning process I guess ...

Saturday, 21 July 2012

Front Lounge Part 17


Much has happened in the last few days. We whitewashed the floor - 50/50 emulsion and water, which I applied with a roller and then Sunshine wiped into the boards and wiped the excess off. It was looking fine till we let it dry and looked at it in the daylight the next day and saw that a lot of the dark stain from how the boards had been before had started too come up (I guess the water in the dilute emulsion mix did it? I don't know ...). We had done a test board first but that board didn't have a lot of stains left ... so anyways, the stain was coming through as a greeny yellow and looked like mould so we put a bit more of this dilute paint down on bits that were looking a bit rubbish. The floor was no longer as whitewashed as we wanted, but we could live with it. Sunshine then went and got some polyurethane floor varnish to seal it all off.

We also in the meantime (while waiting for the varnish to dry) managed to fill and sand wherever the skirting boards needed and give them a couple of coats of base coat. Fortunately the weather had also got better so we are now able to do some stuff out in the back garden.


Thursday, 19 July 2012

Front Lounge Part 16


Mmmmm... all major wall and ceiling painting done ....

Wednesday, 18 July 2012

Front Lounge Part 15


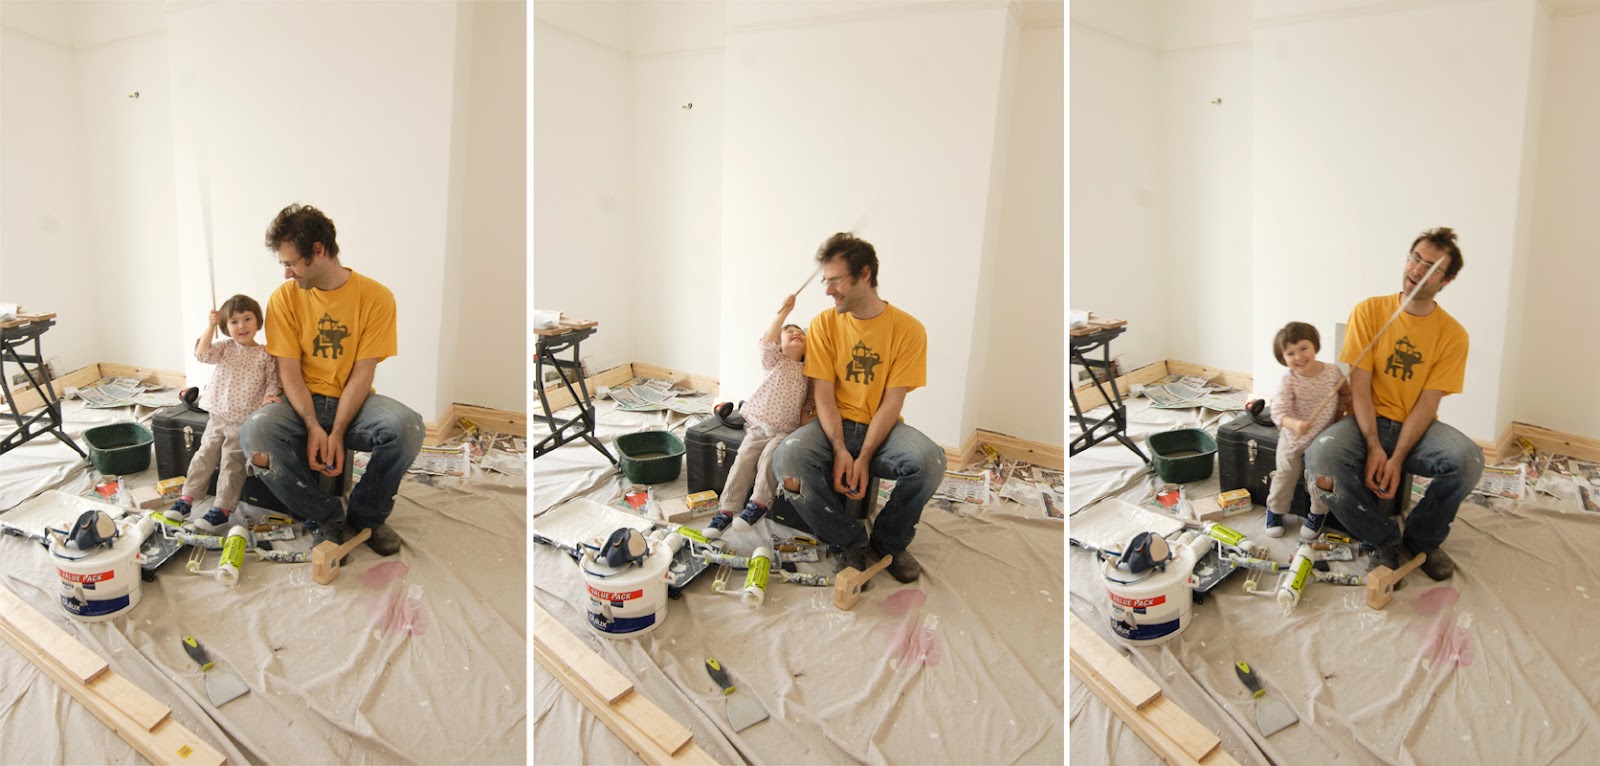
Today we had a little visitor come and help us with the DIY ;)

More coats of paint went on and Sunshine started cutting and planing some of the skirting boards to size. The plane makes a LOT of really high pitched noise (I have my own ear-defenders too) and so I stayed out of the room while Sunshine was busy at it ...


Tuesday, 17 July 2012

Front Lounge Part 14


Yesterday we tidied up  as much as we could as all the sanding had made quite a bit off dust. This included finishing off all the wall filling and sanding, vacuuming the walls and washing down the ceiling (and filling and sanding it too). First coat of white paint went on the walls today - including the ceiling which was just not very absorbant so was really hard to do.

Its nice to work in the summer as the days are so long and it isn't freezing cold without a radiator. Slowly but surely we are making progress.

Sunday, 15 July 2012

Front Lounge Part 13


Since the last update, we have cleared everything out and Sunshine has been on a sanding mission. He planed any boards that were not lying level; then sanded the edges with a belt sander; and then yesterday we hired a proper floor sander and he did the rest of the floor. I have been going in periodically tidying up or filling around plug sockets ...

The floor looks pretty good - we've tried to get as much of the really dark previous stain off but a lot of it is pretty ingrained. But we're happy with how its come out.

Friday, 13 July 2012

Front Lounge Part 12


A bunch of things have progressed in the last few days... I've gotten on with sanding and filling the walls where they needed to. Fortunately there was no textured wallpaper in here, but the wallpapering that had been done was done fairly shoddily so I had to go round tidying bits up.

Sunshine got on with finishing off the floorboards - including filling knots and nail holes with wood filler. We also had some more wall-socket recessing to do as we decided we wanted internet cables coming out of the walls too.

And Sunshine's dad came round and helped him with cutting and positioning the little wooden wallplates needed to affix the skirting boards to the walls. After, Sunshine drilled holes in the walls for them and I went round screwing them to the walls. Electric screwdrivers are the best!

Tuesday, 10 July 2012

Front Lounge Part 11


In the last couple of days we've been fitting in floorboards where we'd lost some - mainly in the alcoves, in front of the "fireplace", and around the new radiator plumbing. Sunshine spent quite a lot of time trying to squeeze all the tongues and grooves together - as it turns out the floor boards from next door that we salvaged are a slightly different width to the ones in this room ... so we had to work around that ... and the fact that they had got damp and slightly warped didn't help either ... but we're getting there.

In the meantime, clearing this room out has meant that our beautifully finished back lounge is full of boxes again ... I so can't wait for us to have all our things in the rooms they need to be in!


Sunday, 1 July 2012

Front Lounge Part 10

Before we started again on the front room, Sunshine decided it would be a good idea to install the new radiators (one for this room and one for the hall) that had been sitting in their packaging in our hallway for the last few months. Fortunately it being summer we could drain them all and get on with changing the plumbing (the new radiators were both slightly different dimensions to the old ones); working out how and where to place them on the wall (the hallway one had to clear the pedals on our tandem!) and at the same time not spring a leak.

My darling husband is handyman extraodinaire! He got on with it all weekend while I kept clearing things out of the room ... my, have we got a lot of "stuff"! I also had to get on with choosing and repairing some old floorboards. We broke some when we re-did the floor in here last year and we salvaged some from next door. But the next door ones have been in the horrendous rain (albeit under tarp cover) that has been the UK the last couple of months. So we had to pick the least mouldy and warped boards, clean them up, dry them out, and glue and tidy bits that needed repairing.

Monday, 25 June 2012

Front Lounge - the sequel


So, the last time we had a look at the front lounge was back in September last year. Well its time to revisit and finish off what we started. First though, we needed to clear it out ... and sometimes that means being slightly ingenious about how you move heavy things about ...

Saturday, 10 September 2011

Front Lounge Part 9

Not a lot has happened over the week house-wise, but today Sunshine sanded the edges on and put down the rest of the available floorboards and nailed them in. This is what it looks like - notice that a full sand-back and re-stain will be required on the floor; and because we had broken boards and used the ones from the far side (bottom right of picture) of the room to fill in the gaps on the other side of the room, we now have missing boards on this side. We've put a few chipboard widths to cover the major holes but the plan is now to leave this room as is and come back to it at the end.

It is eventually going to become our studio/office. But now it will serve as storage and as a staging post for the rest of the DIY. The current studio/office is in the front room upstairs so we're going to move the office stuff down here, and any other stuff from any other room as and when we need to. We're setting up an area near the door of this room where we can pile all the DIY tools/paints/miscellaneous stuff for easy access (but out of the rest of the house). So no more front lounge updates for a while ...

Tuesday, 6 September 2011

Front Lounge Part 8

So where is this insulation you keep talking about?????
Ahhhhh....

7. Remember yesterday's netting? Well then, you cut your insulation (recycled glass bottles) to the desired width (scissors and/or bread knives work best), and suspend them in your netting "hammocks".

8. Lay over some semi-permeable membrane (draught-excluding but lets moisture get through).

9. And last but not least - top off with floor boards!

And this is what it looks like - all the layers: joist; with netting; with suspended insulation; semi-permeable membrane; floorboard; and foot (as can be seen peeking in on the bottom right).

Our floorboards had shrunk and got quite 'gappy' over the years so we tried to get them as close together as possible. Useful to have a spare piece of 'tounge' board to use to bang all the boards together. We've nailed them down with some oval lost-head nails (that Sunshine's folks seem to have left over - a whole massive tin-full - from a previous house building project!).

We've done the room in two halfs (so we had a solid platform to stand on whilst doing the second half of the room - SO precarious walking on joists and trying to avoid stepping into the insulation/netting as its suspended about 10cm off the concrete subfloor. As you can see we have the insulation down on the other half of the room. By the end of the day we had the membrane and floorboards down too. Just got too late to nail them down (don't want to annoy the neighbours at all hours!). Sunshine took the day off work today - that's why we managed such a lot. Think the last of this will have to wait till the weekend when he's about again.

Monday, 5 September 2011

Front Lounge Part 7

Even more things to do before insulating underfloor:

5. Secure loose pipes to joists with gaffer tape.

6. Lay down garden netting and staple into the joists creating a net "hammock" ... I can't begin to describe how annoying using a staple gun, on netting, on vertical surfaces is ... aaaarrrggghhhh ..!!!! Why not staple on top, you say? Leaves big lumpy metal things where the floorboards are going. What is the netting for in the first place? Come back tomorrow and find out!

* Netting doesn't take the
whole day to do - but Sunshine was at work today so we could only do this in the evening when he came back ...

Sunday, 4 September 2011

Front Lounge Part 6

More things to do before insulating underfloor:

3. Check all floorboards are OK - glue broken tongues/grooves/bits-of-board as necessary; and sand down where needed. Notice blue tape and clamps - that's floorboard-repair for you.

4. Lay them all down to make sure it all fits together and assess what needs replacing due to getting broken when being taken out. Pre-insulation pre-prepping is key!

Saturday, 3 September 2011

Front Lounge Part 5

Things to do before insulating underfloor:

1. Check joists are level. Even more fun with a Laser leveler.

2. Insulate radiator plumbing.

Sunday, 21 August 2011

Front Lounge Part 4

Today I have been mostly making holes in walls (chasing the brick wall) so that we can house the plug sockets IN the walls rather than sticking OUT if it. Yes, mum ... the electricity was turned off first ...

Whilst Sunshine has bought himself a hammer drill (it worked out cheaper than renting one as we are going to need it a couple more times around the house), and has been bashing away at concrete. Lookie my scary husband! Lookie he demolish the fireplace hearth! I had to take that last photo from outside the front window as the noise and dust was driving me insane ...

Also have realised that the job I was doing would have been MUCH easier with the hammer drill. Well, now we know for the next time ...

Saturday, 20 August 2011

Front Lounge Part 3

On the left - start taking off ceiling paper - on the right, almost at the end of taking off ceiling paper... It came off amazingly easily. And the board under is really smooth. We should be able to just clean and paint over. Yay to no more textured ceiling paper!

So, we've lost a little bit of momentum as we've got into a slight dilema about whether or not we want to buy new floorboards. There's nothing wrong with the old ones (no rot or woodworm); just that they are soft pine (meant to be under carpets), and therefor dent easily. Also we've inadvertantly broken a few in taking them up - so need to source replacements. Still undecided about what we're going to do.

Also, to get all the boards up, we had to get the skirting boards up, which meant that the radiator had to come off the walls. The radiator turned out to need a thorough clean out (it was full of the black magnetic rust that accumulates if you haven't got any inhibitor in the water). So we had to take half a day off to just flush out the whole radiator system in the house. We had to get ourselves a hose too - as we don't have an outside tap, so have never had a hose. Sunhine had to engineer a pipe under the washbowl in the back WC so we had somewhere to plumb the hose into. All such a faff! I wish the landlords had left the outside tap that was already there when we first came to see the house when we were looking to rent it. Outside tap has been included on the must-do list.


Wednesday, 17 August 2011

Front Lounge Part 2

Today, with some help (thank you Ted!), the rest of the floorboards came out. Then we decided to get rid of the non-existant-fireplace-hearth. As it turned out, it was a block of polystyrene, covered in a 10mm thick layer of pretend-marble composite. Unfortunately underneath it is the most had concrete block on the planet. We've tried bashing it (need it flat so that we can put floorboards across where the hearth used to be); but it wont budge - looks like we may have to go and procure a jack-hammer of some sort...

Tuesday, 16 August 2011

Front Lounge Part 1

First order of the day - clear out the lounge and pile everything in other rooms in the house.

Then proceed to take off skirting boards - and then floorboards. As Sunshine pulled out the boards, I diligently hammered out all the old nails so they weren't sticking out waiting to poke the unsuspecting.

The plan is to insulate under the floor. Lucky for us we found that it was completely dry underneath and there was a concrete subfloor (these old victorian houses often only have dirt under - but ours allegedly had been re-built post-WW2 as it had been bombed; and this is turning out to be a great thing as everything is about 50-60 years old rather than over a hundred!)

Also, by the end of the day realised that leaving the sofabed in the lounge wasn't such a great idea ... thank you to Ollie for coming round on short notice and helping Sunshine maneuver it to the next room - I'm too small and weak for such jobs!